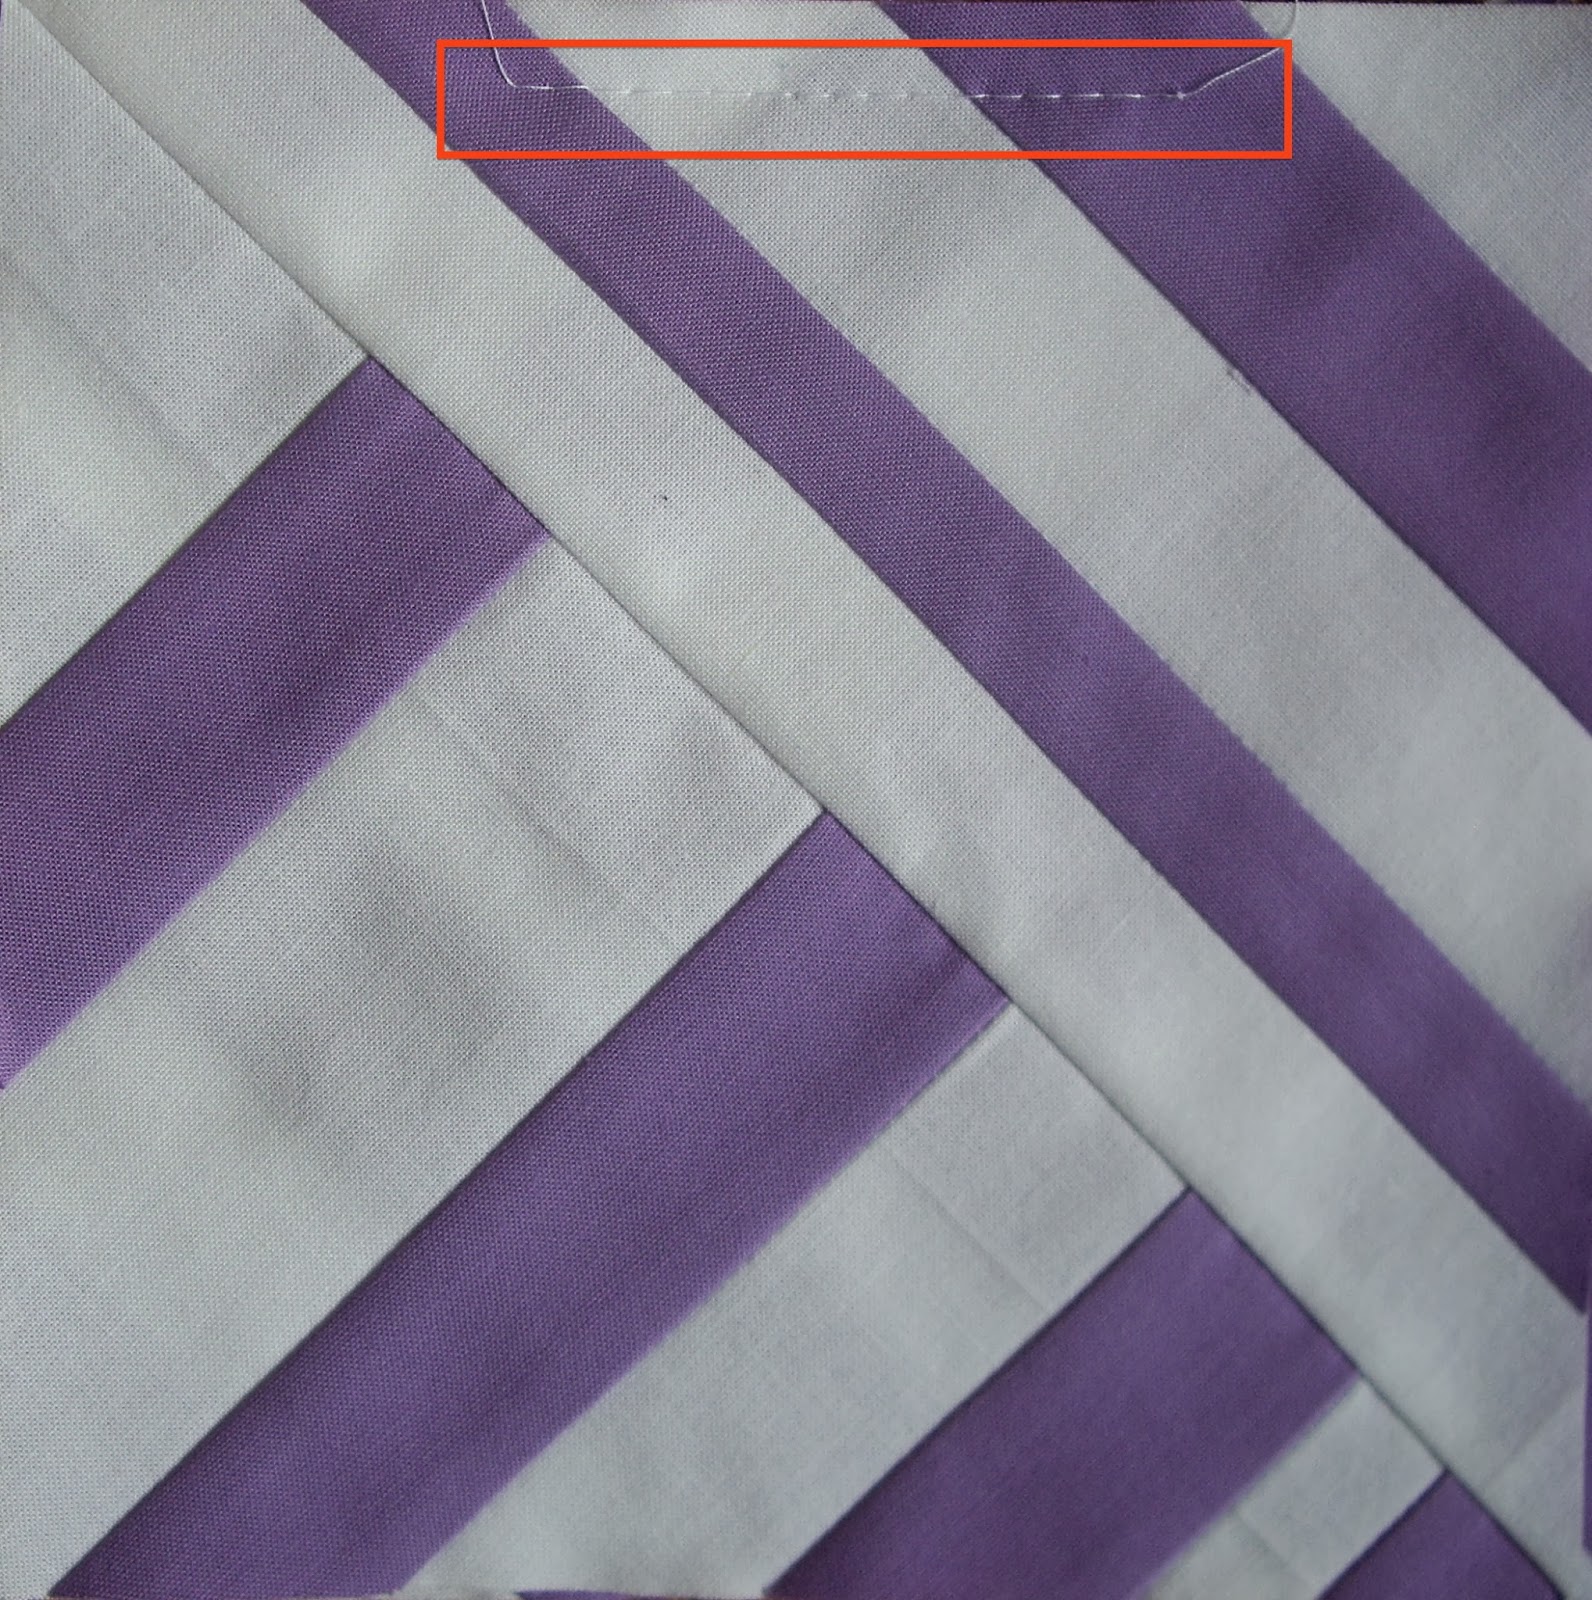
February Block of the Month Instructions
The Burly Quilter Block, named after our own Burly Quilter, Bryan.
EDITED: whoops! We made a math error halfway through but the instructions are now correct! We’ve also included a fix if you have already made your block.
Materials needed:
• two solid (any colour) rectangles 10″x14″
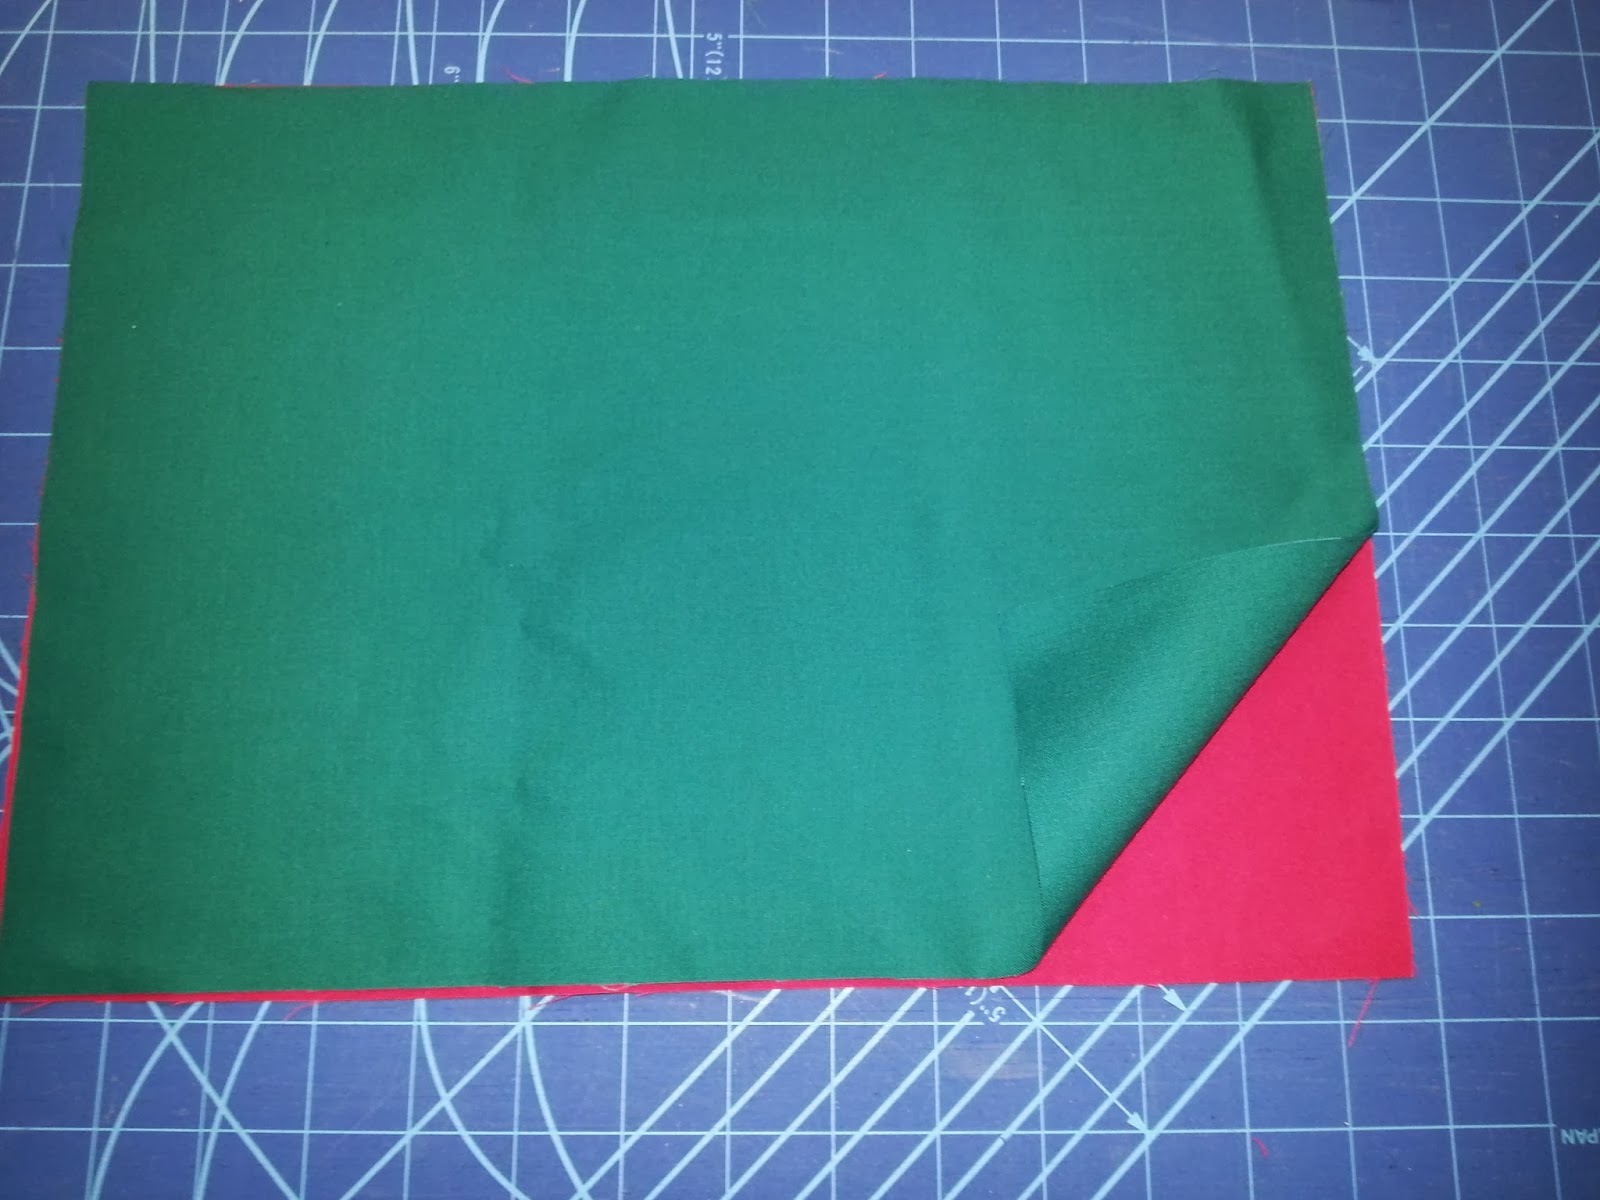
Stack both fabrics together.
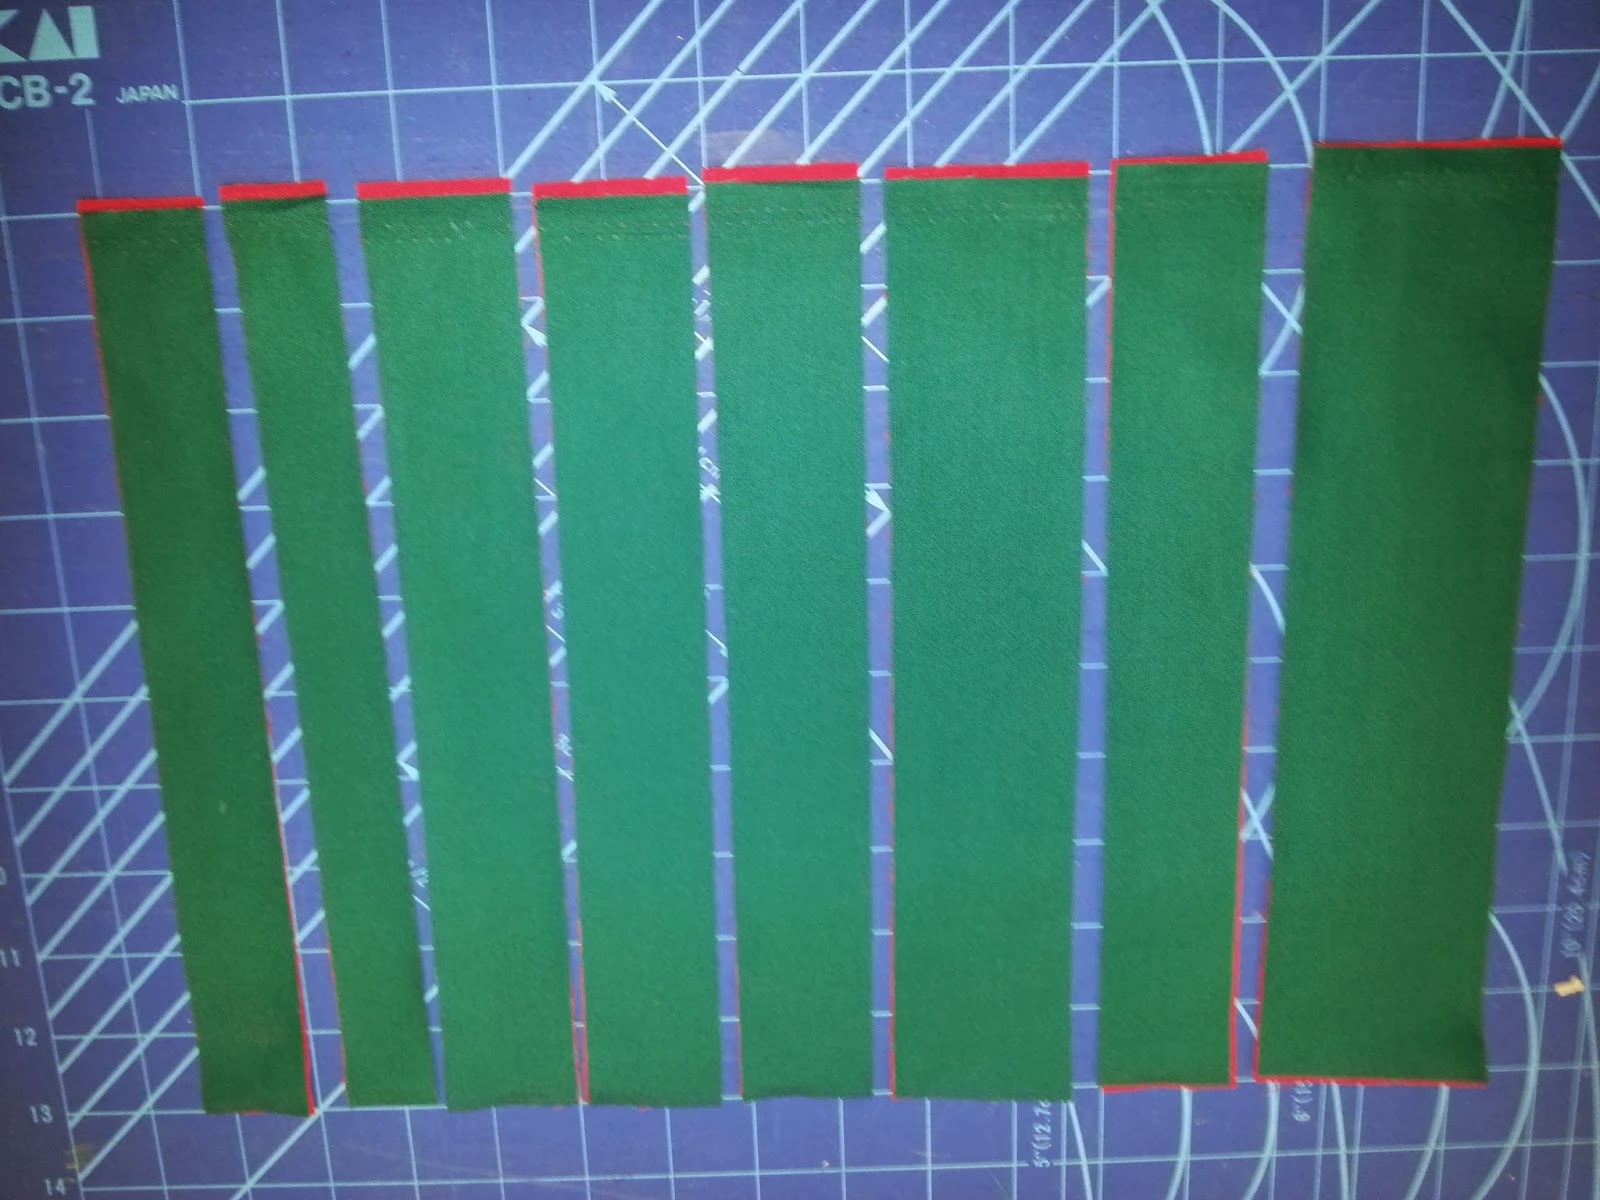
From the short end, cut strips at the following widths:
1.25″, 1″ 1.5″, 1.5″, 1.5″, 2″, 1.5″, 2.5″. You will have a narrow strip leftover. Discard.
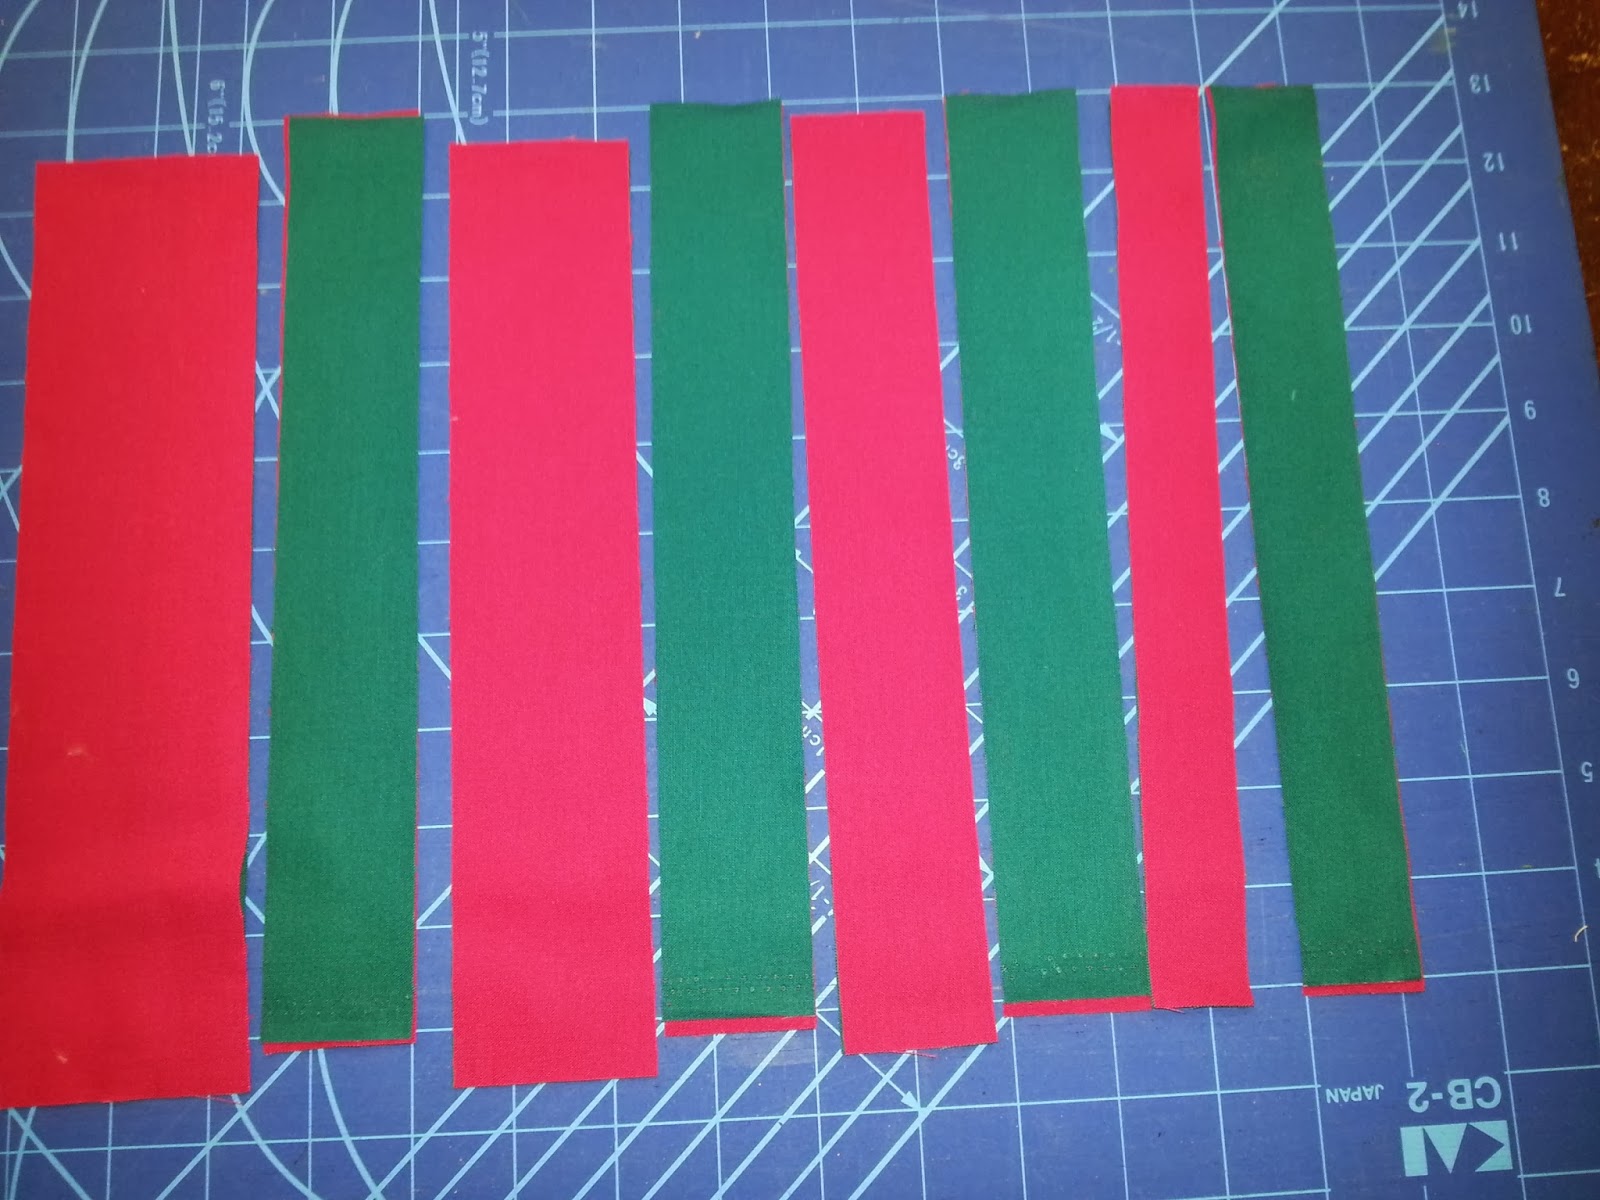
Flip over every second pile to give you alternating stripes.
No photo of this step:
Sew the eight strips together – you will have two sets of striped fabric. Press. Trim both to 9″ square, not 9.5″ as previously instructed.
No photo of this step:
Place one square right side UP, stripes going horizontally.
Lay the other square on top, right side DOWN, stripes going vertically.
Sew around the perimeter of the squares.
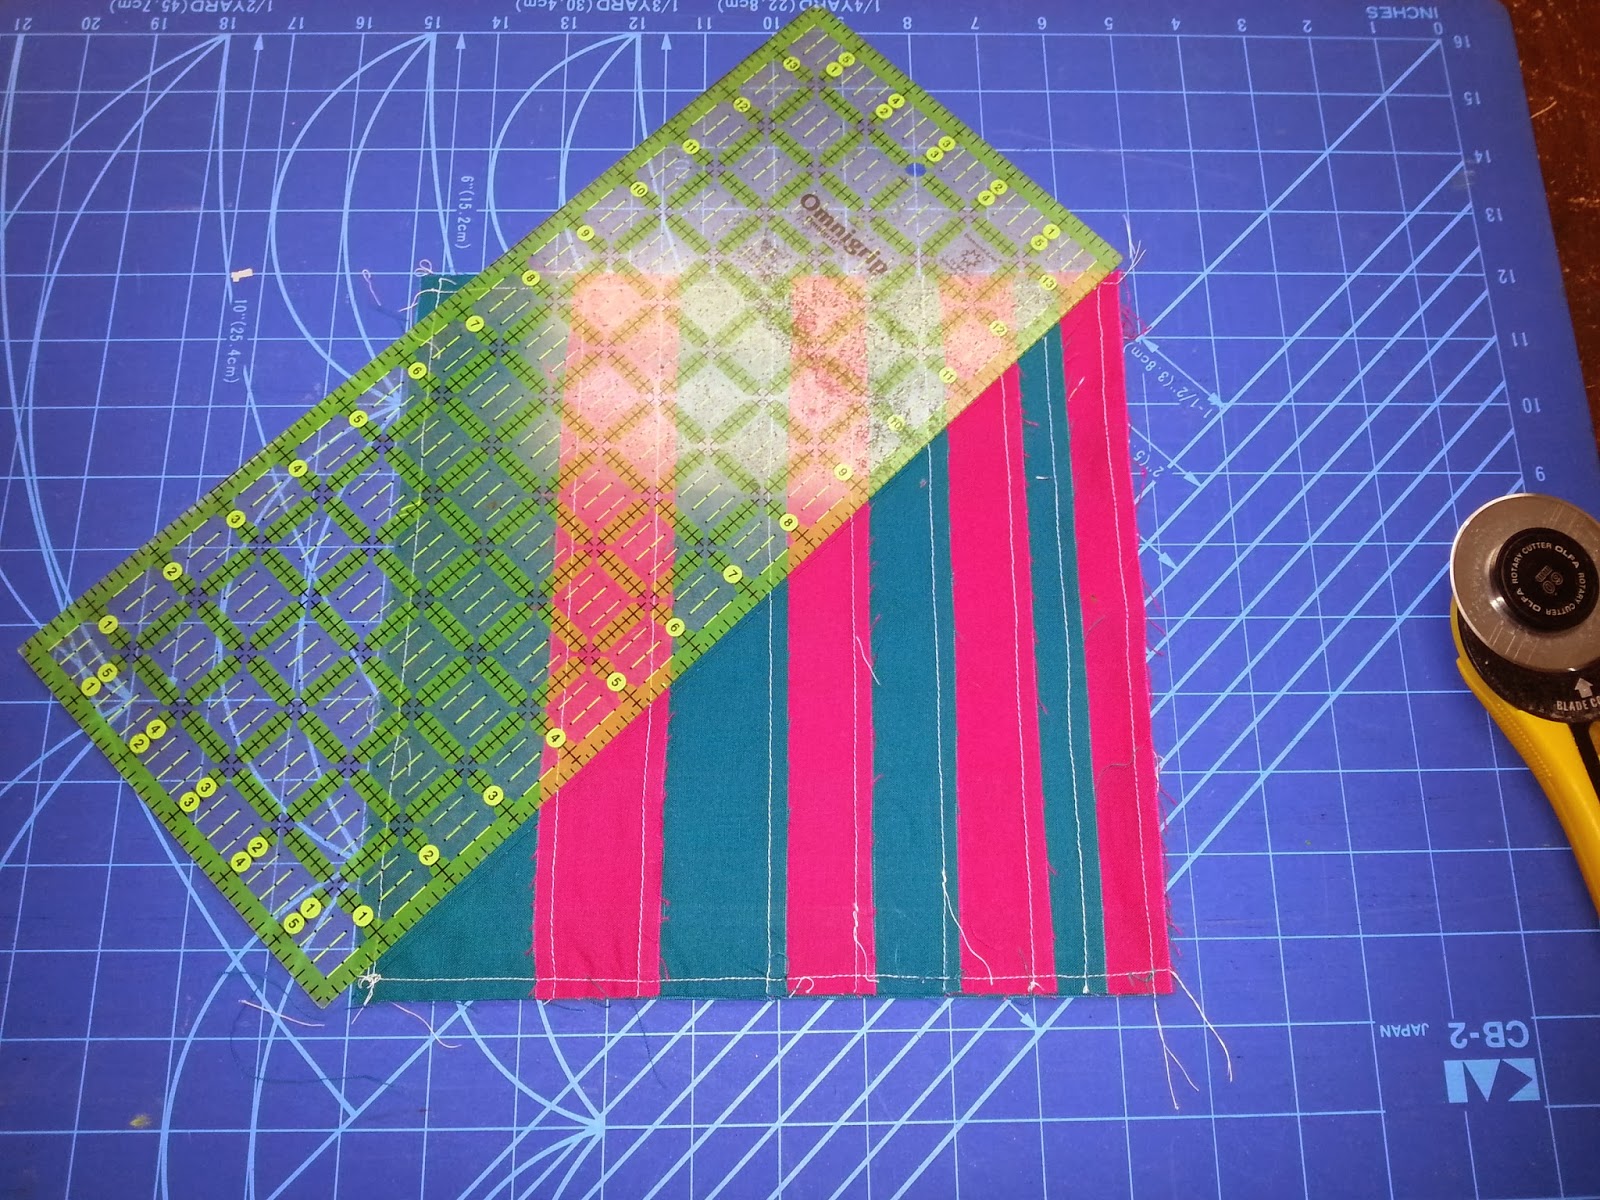
Cross cut from corner to corner, both directions.
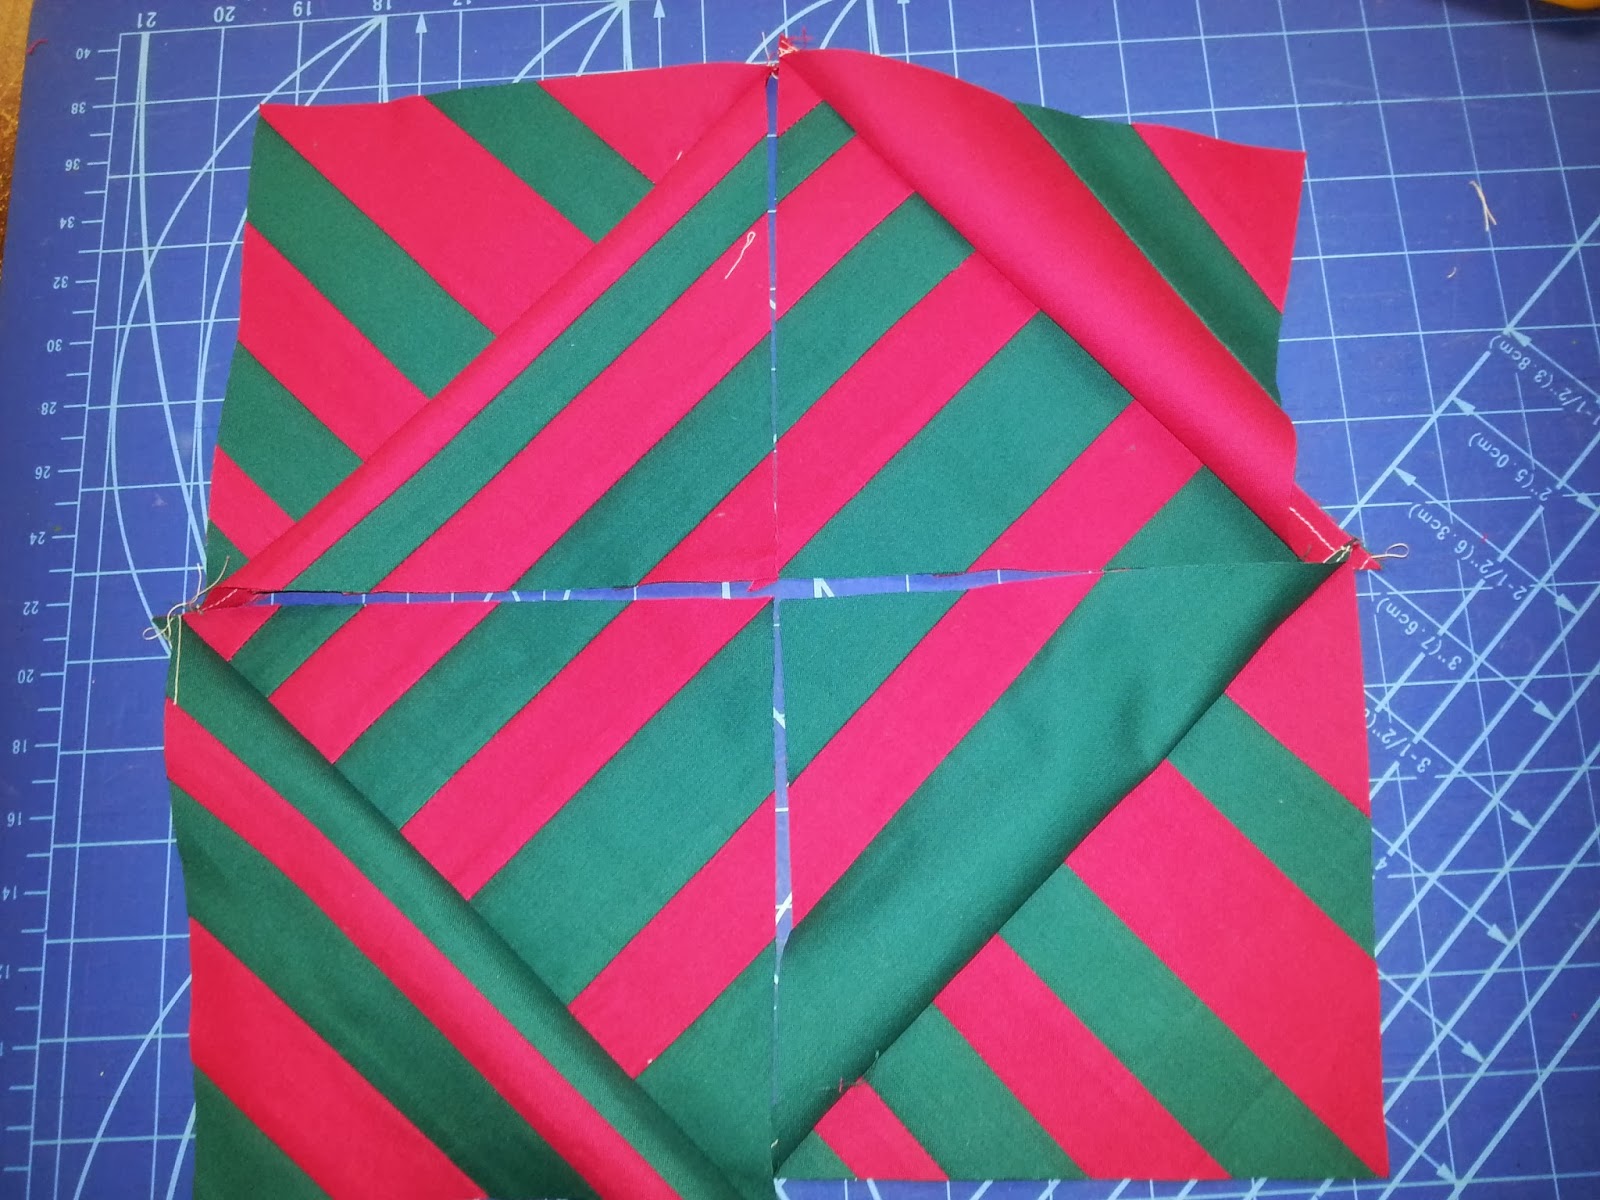
Flip open and press seams to one side.
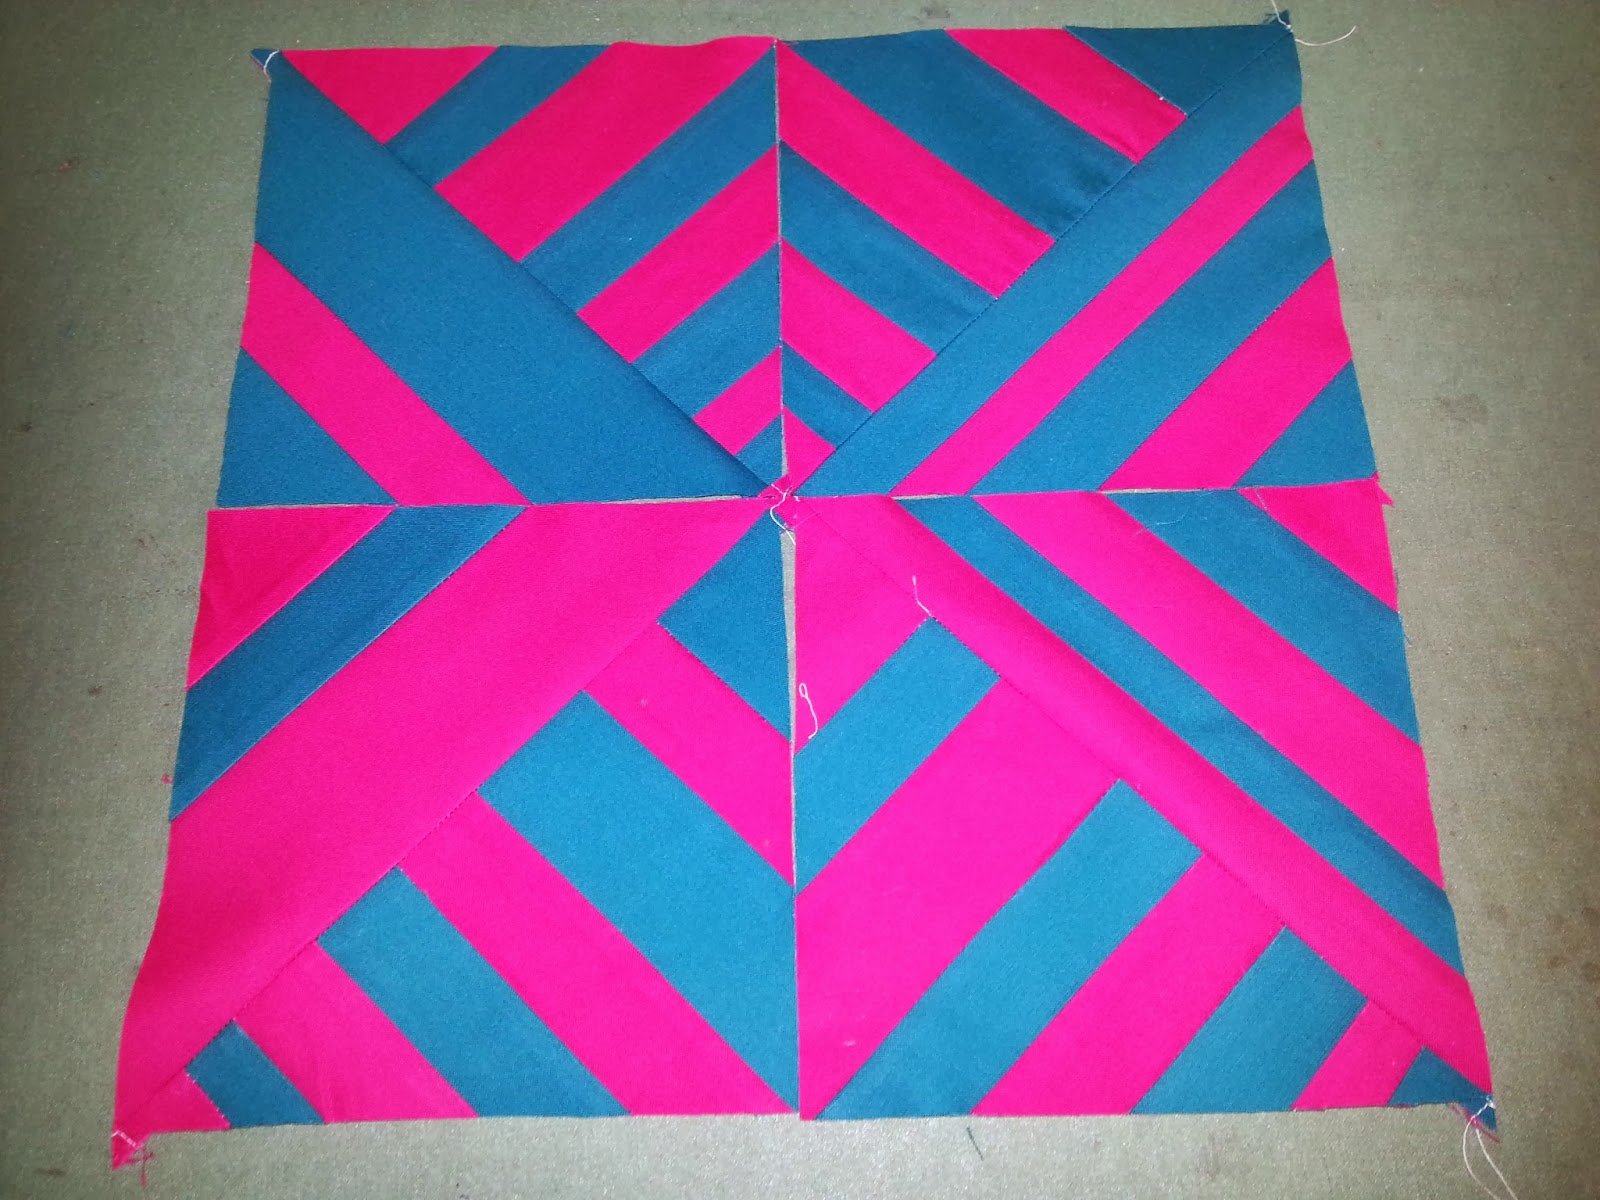
Finished product: four mini blocks.
If you have already made your block, fold your blocks back in half. Line it up on the diagonal line of a square ruler, and the bottom of the block at the 6.5″ mark.
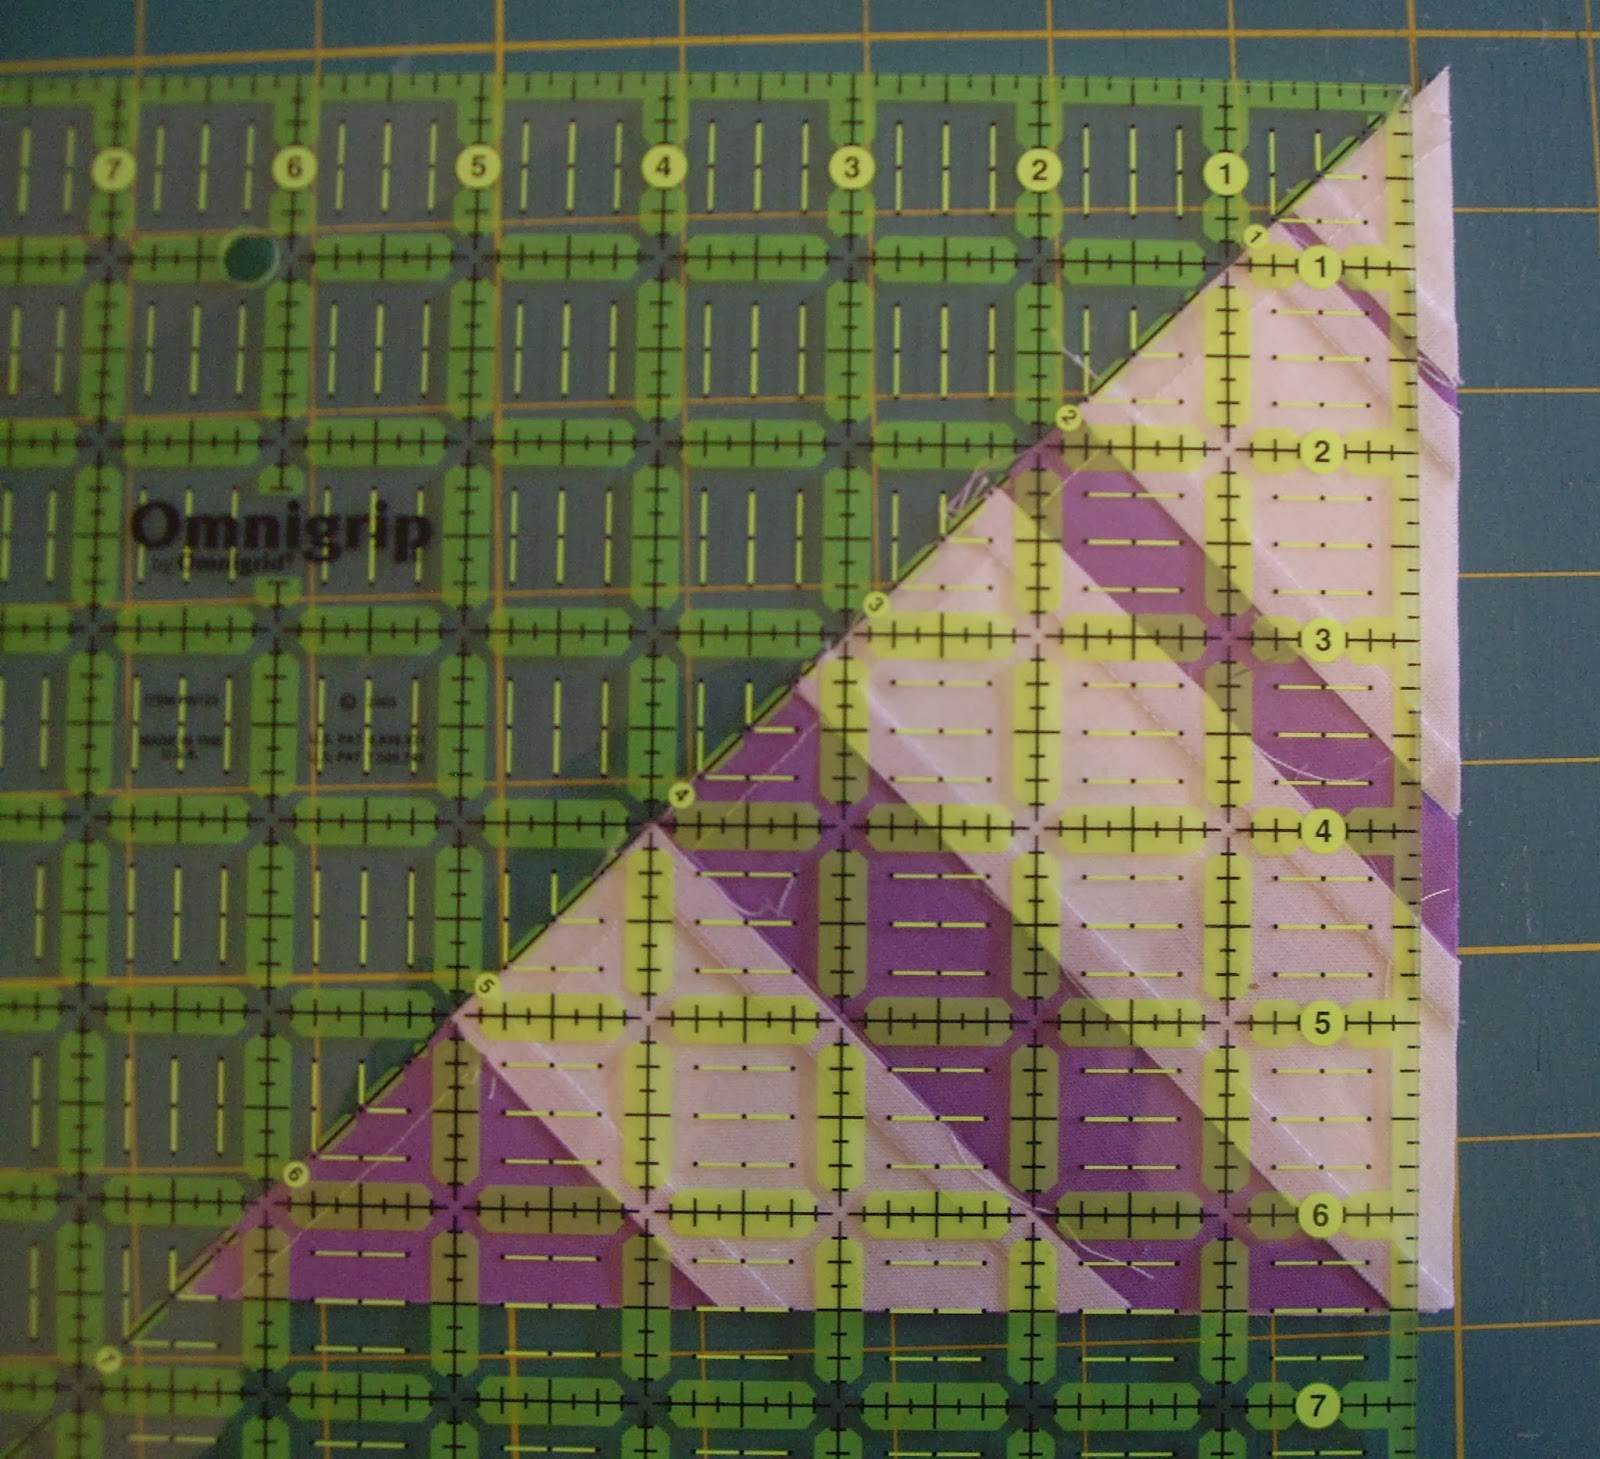
This will leave 1/4″ exposed. Trim off. Repeat for each of your four blocks. Voila – the way it should be! Unfolded, each mini block should now measure 6 1/8″ square.
Each four mini blocks you bring to the March 20th meeting will get you one lottery ticket to win the whole batch. Make as few or as many as you like!
And check this out: someone in our group did this for our first BOM to keep each set of four blocks together and tidy. Use a long stitch length and just stitch a few inches along the top.
