HST Tutorial
A half square triangle is a fabulous quilt block. It’s a square, but divided diagonally to give you two different fabrics. Hundreds of layouts are possible with HSTs. There are many ways to make them and you will have your own preferences, but here are several ways.
The math for most of the methods is usually the same:
finished size of square PLUS 1″
The math is easier if you add 1″ instead of the traditional 7/8″. This also gives you a tiny bit of extra to square up your block and make it perfect. There is a handy crib sheet at the end which lists the math for all the methods. Now let’s get started!
Method #1 • Two triangles
 |
| Take a square or a scrap measuring your finished size +1″ and cut in half diagonally. |
 |
| Pair it with another triangle the same size and sew together. Be careful as you are sewing a bias edge. Not difficult, but take care not to stretch it. |
 |
| Ta da! one finished HST. |
Method #1
Pros: good to make unique HSTs
Cons: you have to sew a bias edge
Yield: 1 at a time
Method #2 • Pre-printed foundation papers
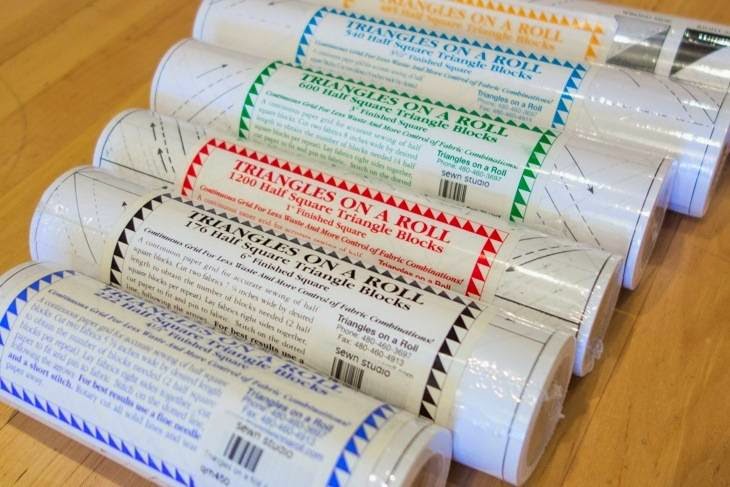
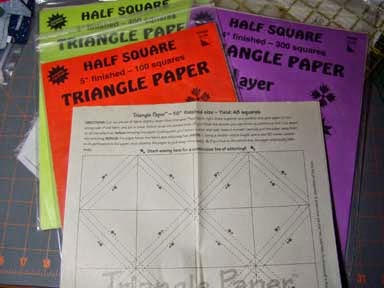
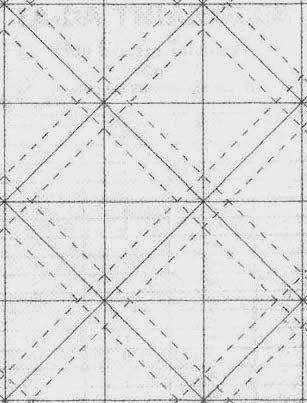
Purchased on-line or in shops, these papers come in a variety of sizes up to 6″ finished. This is too small for our project but we wanted to mention them anyway. These are the three most common brands:
 |
| http://trianglesonaroll.com/ |
 |
| http://www.thangles.com/ |
 |
| http://www.quiltime.com/tppage.html |
Method #2
Pros: lends accuracy to your HSTs
Cons: you have to purchase the papers, no super big sizes available, waste of paper
Yield: lots!
Method #3 • Traditional method, or two squares
 |
| Take two squares (finished size +1″) and draw a diagonal line on the lightest coloured square. |
 |
| Align your squares and sew a 1/4″ seam on BOTH sides of the line you drew. Cut apart on the drawn line. |
 |
| Ta da! Two finished HSTs. |
Method #3
Pros: easy to make
Cons: not the fastest method if you’re making lots
Yield: 2 at a time
Method #4 • Bias Square
The math for this one is really goofy.
((Finished size + 0.5″) x 1.1414) + 0.75″ = starting square size.
Let’s expand that for you:
((finished size + seam allowance) x square root of 2 because Pythagoras is all over this) + DIAGONAL seam allowance and a bit extra. Here’s how to make this one.
 |
| Take two squares. See above for sizes. Using a 1/4″ seam, stitch ALL AROUND the perimeter, overlapping your stitches at the beginning/end point. |
Please forgive the switch of fabrics.
The floral below is the same as the red above.
 |
| Cut diagonally in both directions. |
 |
Method #4
Pros: fast to make
Cons: you have bias edged HSTs. And your starting math is weird. Why make your life hard?
Yield: 4 at a time
NB: we will not accept HSTs for our charity drive that have been made with this method.
Method #5 • Magic 8s
 |
| Take two squares (finished size +1″) x 2. Add an extra 1/4″ if possible. Mark a diagonal line in BOTH directions. |
 |
| Stitch a 1/4″ on BOTH sides of BOTH lines. Those are the black stitching lines in this picture. |
 |
| Without disturbing your fabric on your mat, cut in half vertically and horizontally, then diagonally between your stitching lines. After cutting you will get this star shape. |
 |
| Ta da! 8 finished HSTs (that’s two lottery tickets you know!) |
Method #5
Pros: really fast to make
Cons: can’t think of any
Yield: 8 at a time
NB: for our 8″ finished HST, a FQ = 8 HST
Method #6 • Bias Strip Method
We don’t have any photos of this method as it is unsuitable for making large HSTs. There are many places to find tutorials online however, here are two:
Sharon Schamber‘s method.
And here is another tutorial.
Method #6
Pros: it’s kind of cool
Cons: doesn’t work well for large HSTs.
Yield: depends on starting strip size
Method #7 • Strip Method
This is like the traditional method, 1 square = 2 HST but you put multiple squares in a line.
Start with two strips of fabric where the WIDTH is your finished size +1″ and the LENGTH is your finished HST size +1″ times however many you can fit per WOF.
 |
| Starting at one end, mark the squares (the blue vertical line in the photo). Then mark a diagonal line in each square. You want the diagonal lines to form a zig zag so you can stitch continuously. |
 |
| Using a 1/4″ seam allowance, stitch on BOTH sides of the diagonal lines you drew. |
 |
| Cut apart on both the vertical lines and the diagonal lines. |
 |
| Ta da! 8 finished HSTs (that equals 2 lottery tickets!) |
Method #7
Pros: quite efficient
Cons: can’t think of any
Yield: varies
NB: for our 8″ finished HST, a strip 9″x36″ = 8 HST.
Method #8 • Grid Method
No photos of this one as it gets a bit ridiculous with such large HSTs, but the concept is easy.
Similar to the Strip method of laying out squares in a row except you lay them out in a grid. Each square yields 2 HST, so work out your math to suit your project.
Each square should be finished size +1″, laid out in a grid.
Ex: 3 squares x 5 squares = 30 HST, 7 squares x 6 squares = 84 HST
 |
| This is a 3 x 4 grid which yields 24 HST. |
Method #8
Pros: very efficient
Cons: can’t think of any
Yield: varies
Trimming up:
The last step in making perfect HSTs is to trim them, especially if you added 1″ instead of 7/8″.
These illustrations are for a right-handed person, reverse it for left-handers.
 |
| Line up your 45° line on the seam line, and as close to one corner as you can. |
 |
| Trim off the excess from both the side and the top. |
 |
| Rotate your HST (or turn your mat), and line up the 8.5″ lines on the freshly trimmed sides, and the 45° on the seam as before. Trim the excess from the top and side again. |
 |
| Ta da! A trimmed, perfectly made 8.5″ HST. |
And that concludes our HST tutorial! Have fun making lots of HST for our charity block drive. Remember that our blocks are 8″ finished, so trim yours to 8.5″. Press seams to the dark side. Colours are BLACK and one of the guild colours: orange, red, bright/lime green, and teal. Tone on tone fabrics or solids are acceptable.
A prize will be awarded by random draw each month,
4 blocks = 1 lottery ticket.
A grand prize at the end of the block drive will be awarded to the person who made the most blocks.
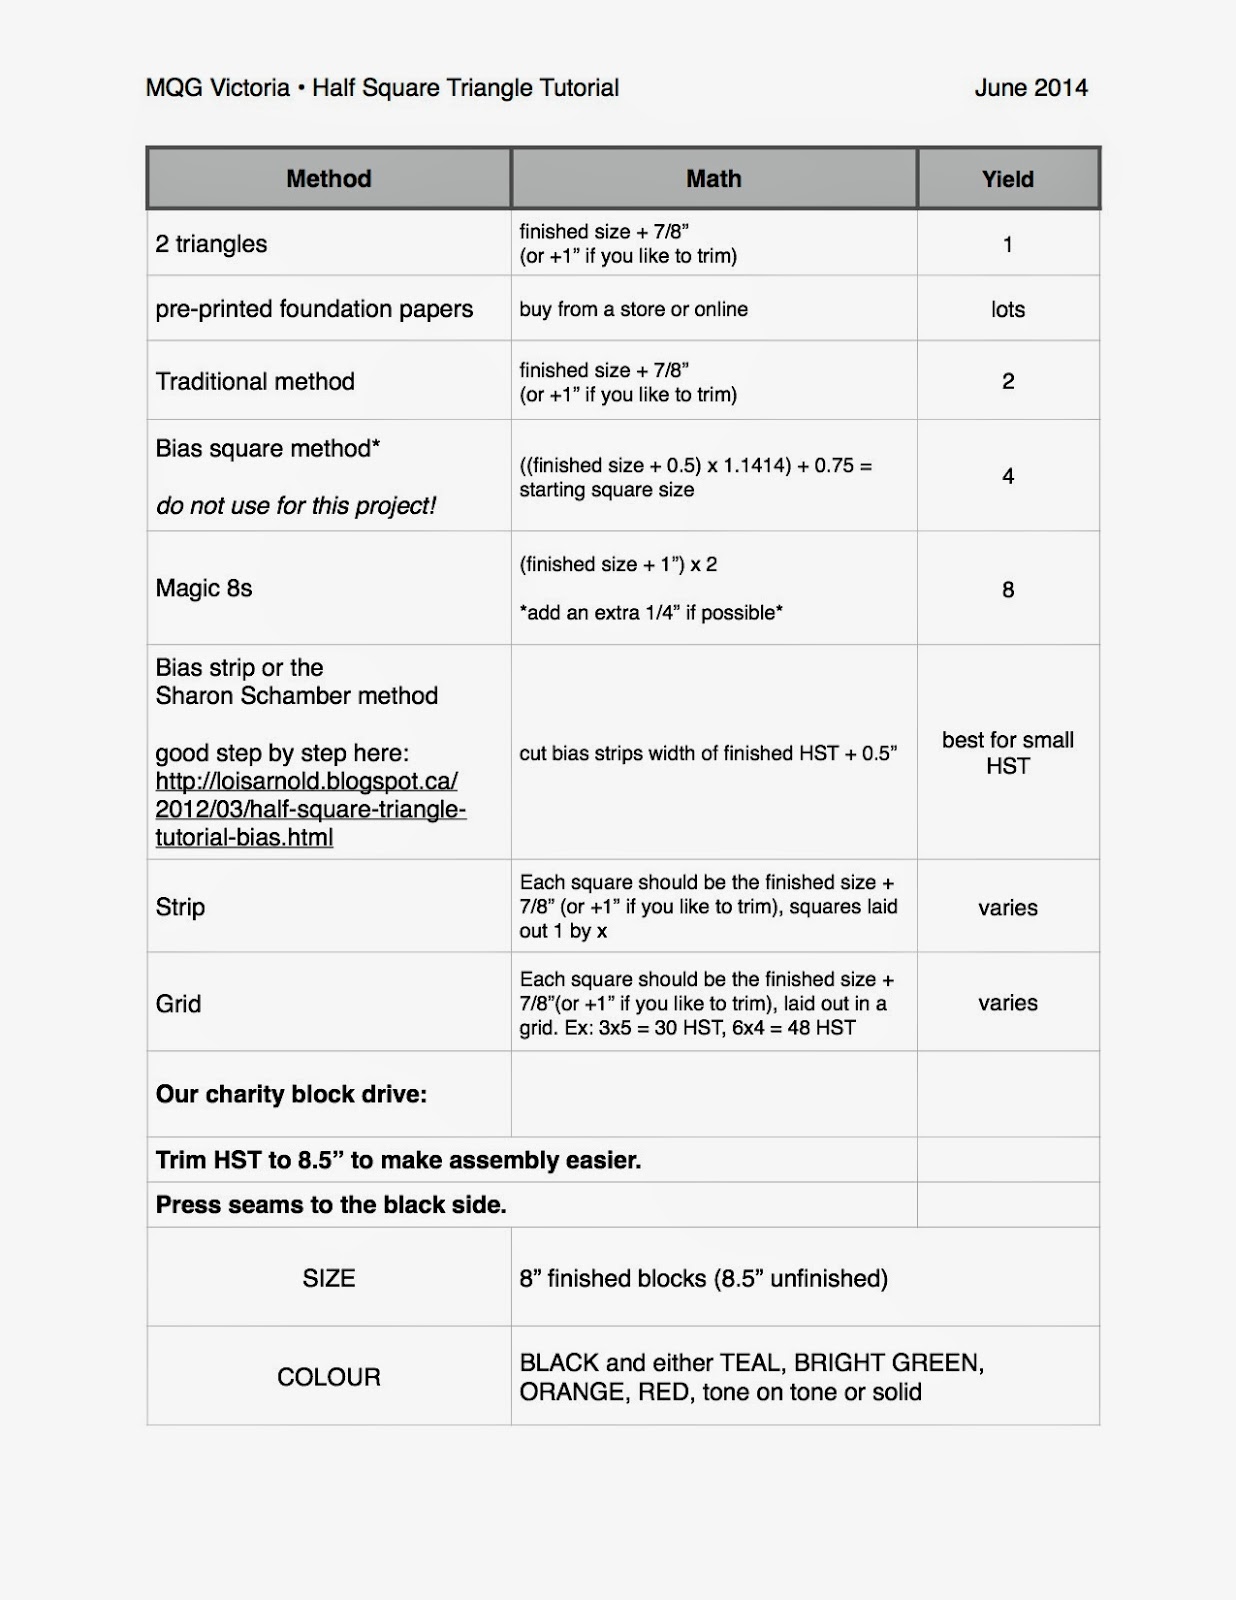
Here’s the handout from the meeting with the math crib sheet.


This comment has been removed by a blog administrator.